WindowsPCのVagrantにCentOS7.4環境を構築する

2021年05月03日2023年10月10日
WindowsのVagrantにCentOS7.4を構築するする方法を紹介します。
Vagrantのインストール
Vagrantを動作させるには、Virtualboxも必要になります。
Virtualboxのインストール
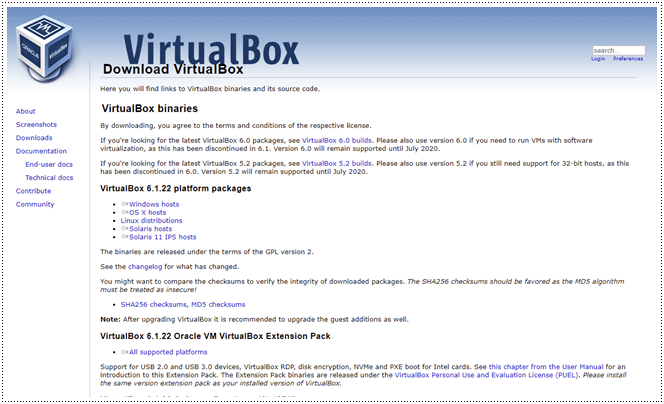
インストールはとても簡単です。インストーラーがあるので案内に従ってインストールします。
https://www.virtualbox.org/wiki/Downloads
- VirtualBoxの公式サイトにアクセス
- Windowsは「Windows hosts」のリンク、Macは「OS X hosts」のリンクをクリック
- ダウンロード後はインストーラーを起動
- 案内に従ってインストール
Vagrantのインストール

こちらもインストールは簡単です。インストーラーがあるので案内に従ってインストールします。
- 「Vagrant公式サイト」にアクセス
- Windowsの「64-bit(または32-bit)」リンクをクリック、macOSは「64-bit」リンクをクリック
- ダウンロード後はインストーラーを起動
- 案内に従ってインストール
- PCを再起動する
Vagrantの立ち上げ(はじまり)
Vagrantが動作できる状態が作れたので早速Vagrantのbox追加からおこなっていきます。
コマンドプロントを立ち上げ、Vagrantの作業フォルダに移動します。
(場所はどこでも構いません。自分が管理しやすい場所で問題ないかと思います。)
Vagrantにcentos74のboxを追加します。
(1分ほどかかります。)
C:\vagrant>vagrant box add bento/centos-7.4
==> box: Loading metadata for box 'bento/centos-7.4'
    box: URL: https://vagrantcloud.com/bento/centos-7.4
This box can work with multiple providers! The providers that it
can work with are listed below. Please review the list and choose
the provider you will be working with.

1) hyperv
2) parallels
3) virtualbox
4) vmware_desktop

Enter your choice: 3 ←virtualboxの番号を入力する
==> box: Adding box 'bento/centos-7.4' (v201803.24.0) for provider: virtualbox
The box you're attempting to add already exists. Remove it before
adding it again or add it with the `--force` flag.

Name: bento/centos-7.4
Provider: virtualbox
Version: 201803.24.0

C:\vagrant>
途中で番号聞かれたらvirtualboxの番号「3」を入力してEnterを叩きます。
つぎに、作業フォルダを作成します。
今回は「centos-7.4」で作る予定なので、わかりやすくフォルダも「centos74」にします。
C:\vagrant>mkdir centos74作業フォルダに移動。
C:\vagrant>cd centos74つぎに、vagrantの設定ファイルを作成します。
C:\vagrant\centos74>vagrant init bento/centos-7.4
A `Vagrantfile` has been placed in this directory. You are now
ready to `vagrant up` your first virtual environment! Please read
the comments in the Vagrantfile as well as documentation on
`vagrantup.com` for more information on using Vagrant.

C:\vagrant\centos74>
同フォルダにVagrantfileが作成されているので、エディタ等で編集します。
C:\vagrant\centos74\Vagrantfile
■ コメントアウトを削除する
  # config.vm.network "private_network", ip: "192.168.33.10"
    config.vm.network "private_network", ip: "192.168.33.10"

■ vagrantとシェアするフォルダを指定する(プロジェクトなどのフォルダ)
  # config.vm.synced_folder "../data", "/vagrant_data"
    config.vm.synced_folder "D:\\source", "/vagrant_data", owner: "apache", group: "apache", type: "virtualbox"
つぎにVagrantの起動とSSH接続します。
# vagrantの起動
C:\vagrant\centos74>vagrant up


# vagrantにssh(パス無しでログインが可能)
# テラタームなどのツールでログインする場合はvagrant/vagrantでログイン可能
C:\vagrant\centos74>vagrant ssh
ssh接続後、centosのバージョンを確認します。
[vagrant@localhost ~]$ cat /etc/redhat-release
CentOS Linux release 7.4.1708 (Core)


# ログアウトする
[vagrant@localhost ~]$ exit
logout
Connection to 127.0.0.1 closed.
サーバーの停止
先ほど起動したcentosを停止する場合は、下記のコマンドを実行します。
C:\vagrant\centos74>vagrant halt
==> default: Attempting graceful shutdown of VM...
以上になります。


![[Eclipse]テキスト・ファイル・エンコードでShift-JISを指定する方法](/upload-images/images/20/995b5de453e899aa6b7150a11e41f0b6a693f458-thumbnail.png)
コメント
コメントを残す